
When you use multiple reference images for an AI product photo, give each image a clear job. One image identifies the product. Another communicates the lighting, background, or color palette. Your prompt should explain what to borrow from each and what must remain specific to the product.
In CubbieAI, you can keep those references on the canvas alongside your results. That gives you a place to check whether the scene follows the brief and whether the product still looks right.
This guide uses existing CubbieAI demonstration images to explain reference selection. The two images below are example inputs, not evidence that the suggested prompts have been run together. No generated outcome or success rate is implied.
Start with a product reference and a style reference
Begin with two images whose roles are easy to describe. Add more only when you can explain what extra information they provide.
| Reference | What it contributes | What to specify in the prompt |
|---|---|---|
| Product photo | Shape, color, materials, label, and identifying details | Which object is the product and which details to preserve |
| Style image | Palette, light direction, surface texture, or atmosphere | Which qualities to borrow and which objects to ignore |
| Optional detail photo | A close view of a label, seam, closure, or other important feature | That it shows a detail of the same product, not another product to include |
These are roles you describe in your brief, not automatic “product lock” or “style weight” controls.
For this example, the cobalt-blue chair is the product reference:
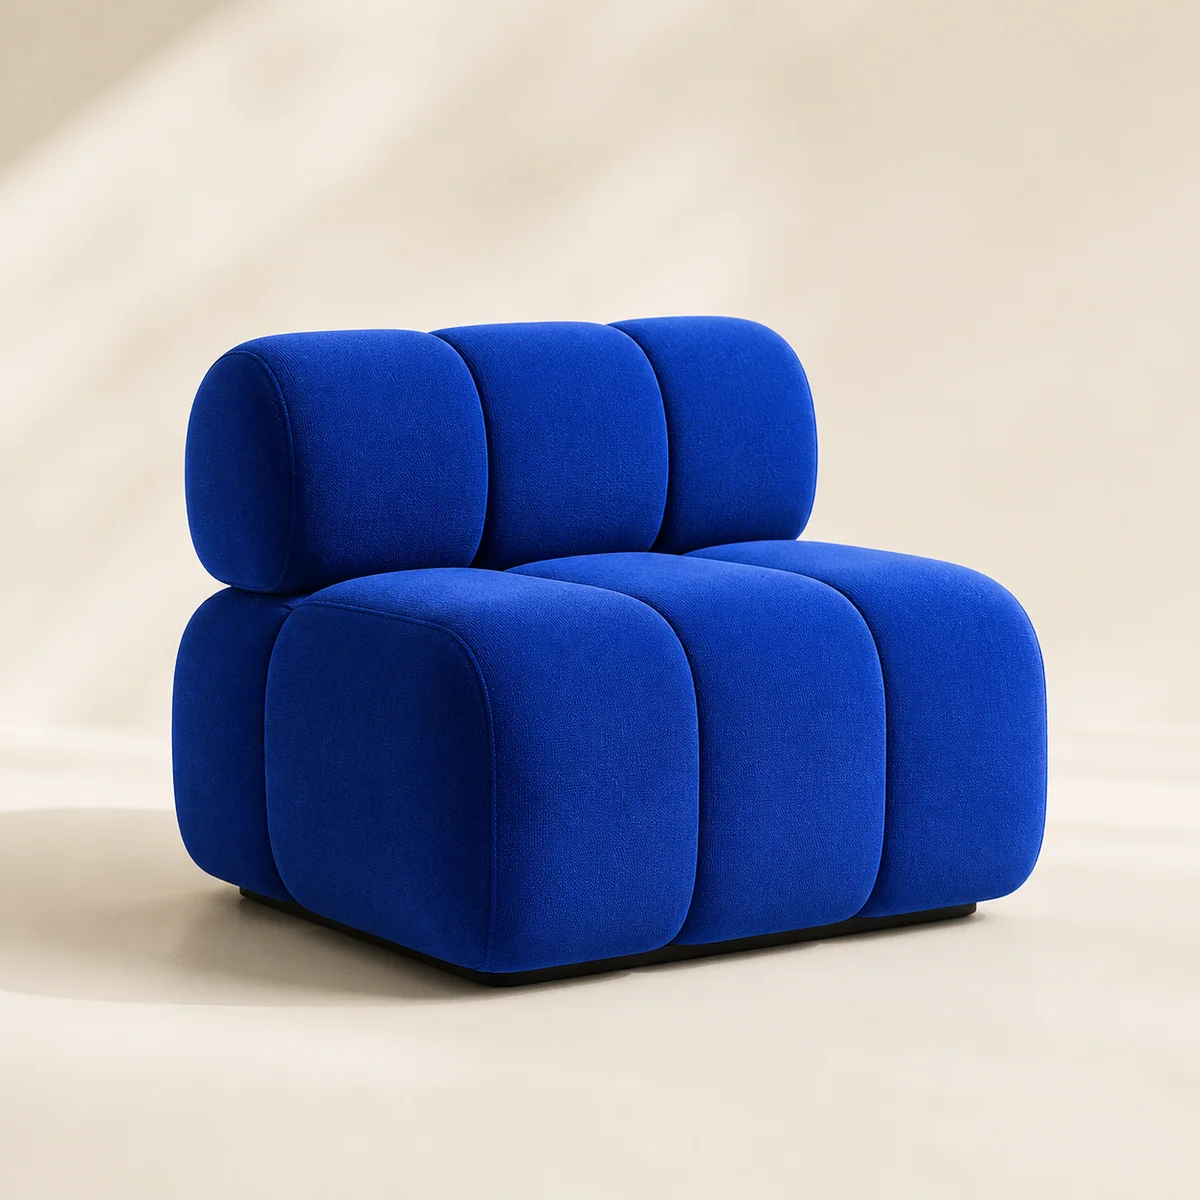
Use the chair’s silhouette, blue upholstery, padded sections, and base as the details to review.
The second image is champagne-colored silk on stone:
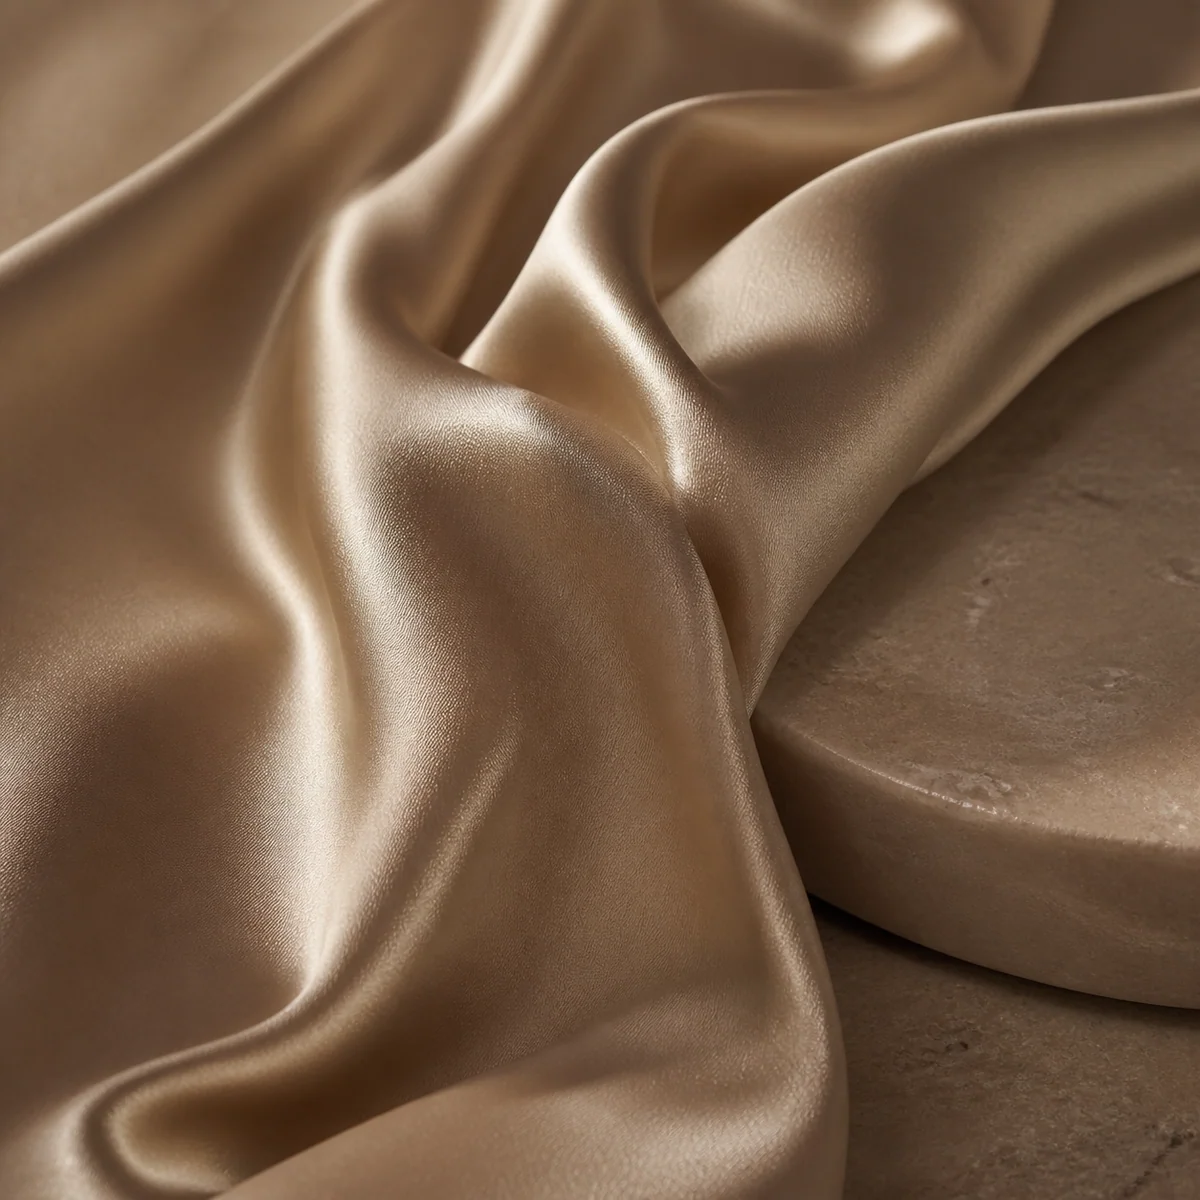
This image can communicate warm neutrals and soft highlights. It does not mean the chair should become silk, or that fabric must appear in the final scene.
That distinction is the brief. “Use both images” leaves the relationship unclear; “keep the chair, borrow the lighting and palette” gives the request a more specific purpose.
1. Add the images and check the intended references
Open Studio and use Add reference image to bring in your images. The reference upload control also supports dragging and pasting images. If you are working from images already on the canvas, select the images you intend to use for the task.
Check both attached references and your canvas selection before sending. An image sitting elsewhere on the board is useful for your own review, but its presence alone should not be treated as proof that it is included in the next request.
Keep the first experiment easy to interpret:
- Include one clear product photo and one style reference.
- Remove unrelated attachments and avoid selecting previous results unintentionally.
- Wait for reference uploads to finish; resolve any upload error before submitting.
- Describe the images by their visible contents, rather than assuming an upload order such as “image 1.”
For the example here, “the cobalt-blue chair photo” and “the champagne silk and stone photo” are distinct descriptions. If two references look similar, explain their difference more explicitly or start with a simpler pair.
2. Write a prompt that separates identity from style
A reusable multi-reference prompt has four parts: the product, the role of each supporting image, the intended scene, and the details to check in the result.
Try this starting brief with the example pair:
Create a furniture campaign image using the selected references.

Product reference: the cobalt-blue chair on a cream background.
Use that chair as the product. Keep its blue upholstery, padded sections,
overall proportions, and low base consistent with the product photo.

Style reference: the champagne silk and stone image.
Borrow its warm neutral palette and soft directional highlights for the room
and lighting. Do not change the chair's upholstery to silk. Do not add fabric
draped over the chair or copy the stone platform into the composition.

Place one chair in a simple interior with a believable contact shadow.
Leave a quiet area above the chair for a headline I will add separately.
Do not add text, logos, prices, or extra furniture products.
Set your intended aspect ratio in Studio and review the visible quote before sending. If the Agent asks a follow-up question, answer it with the same division of roles: product details come from the product image; environmental qualities come from the style image.
These instructions express the target, not a guarantee of exact preservation. The result still needs comparison with the source.
3. Review product identity and scene style separately
After generation, keep the output beside the original product reference. Check identity first, then evaluate the background.
For the chair, compare the padded sections, silhouette, base, and upholstery color. For packaged goods, inspect the label wording, cap, proportions, and finish. If those change, a pleasing background does not make the result suitable for representing the product.
Then compare the scene with the specific qualities you requested from the style reference:
- Does the light feel soft and directional?
- Are the surroundings in the warm neutral palette you asked for?
- Has an unwanted prop or material been copied from the style image?
- Is there enough room for the planned ad text?
Write down what worked and what did not. “The palette fits, but the upholstery changed” is a useful revision brief. “Make it better” does not identify which decision needs changing.
4. Revise one part of the brief at a time
If the product looks wrong, first simplify the reference set and reassert its identity. If the product looks acceptable but the setting is too busy, focus your next request on the environment.
For example, if the output borrowed the silk texture for the chair, a revision brief could be:
The chair must retain the upholstery shown in the cobalt-blue product photo.
Use the champagne silk image only for the room's color palette and lighting.
Do not apply its fabric texture, folds, or color to the chair itself.
Keep the environment simple and include only one chair.
Before resubmitting, make sure the intended product and style references are included in that request. Do not assume that a new prompt automatically includes every earlier image.
Treat each retry as a new result to inspect. A revision can fix one feature while changing another, and additional generation attempts contribute to the total cost shown by your workflow.
Troubleshooting multi-reference requests
The output contains an unwanted object from the style image
Specify the qualities to borrow and the objects to exclude. If the style photograph contains another product that resembles yours, try a reference focused on lighting, surface, or environment instead.
The product color follows the mood image
State that the palette applies to the surroundings, while the product color comes from the product photo. Check the output again: colored light can also affect the apparent color of a surface.
The Agent seems to be using the wrong image
Review your current attachments and selected canvas images. Remove unrelated references, use distinct descriptions, and retry with a smaller set. If a file is unavailable or its upload failed, resolve that before relying on it as a reference.
The composition is attractive but the product is inaccurate
Keep the useful art direction as inspiration, but do not publish a misleading product image. Use the original product photo in the final design when a generated version changes details that matter to the buyer.
For a repeatable review, follow the product-consistency checklist and separate product corrections from feedback about the scene.
Questions about using multiple references
Should I upload several angles of the same product?
An additional angle can explain a detail that the main photograph hides. Describe it as another view of the same product, and state which view you want the finished image to use. Check that the result does not turn the references into multiple products in the scene.
Will more references always improve the result?
No. References may introduce conflicting colors, camera angles, products, or materials. Add an image when it resolves a specific ambiguity, and evaluate whether it actually helps your next result.
Can I give each reference a numerical weight?
This walkthrough uses roles written in the prompt. It does not rely on a per-image weighting control. Describe the intended priority and review the result rather than treating a textual instruction as an exact model constraint.
Continue from a reference board to a finished ad
Once the scene works, keep it with the source references and finish the composition on your canvas. The complete product-ad walkthrough covers the wider process, and the editable-text guide explains how to add a headline you can revise later.
Open CubbieAI Studio and start with one product image and one style reference. Give each a clear role before you generate.