
An AI product image can have a convincing setting while changing the item you intend to sell. Before using it, compare the result with your original product photo and check the features a buyer would rely on: shape, construction, color, materials, and identifying text.
In CubbieAI, keep the original reference beside your candidate images on the canvas. Review the product separately from the scene, then decide whether to revise the result or use your original photograph in the design.
This guide uses existing demonstration artwork to explain that review. It does not claim the example images were produced by the prompts below, or that a prompt can guarantee exact product preservation.
Define what needs to stay the same
Before generating a scene, describe the product’s identifying features. This gives you a concrete comparison list instead of relying on whether an image “feels close.”
For the blue chair in this example, begin with the reference:
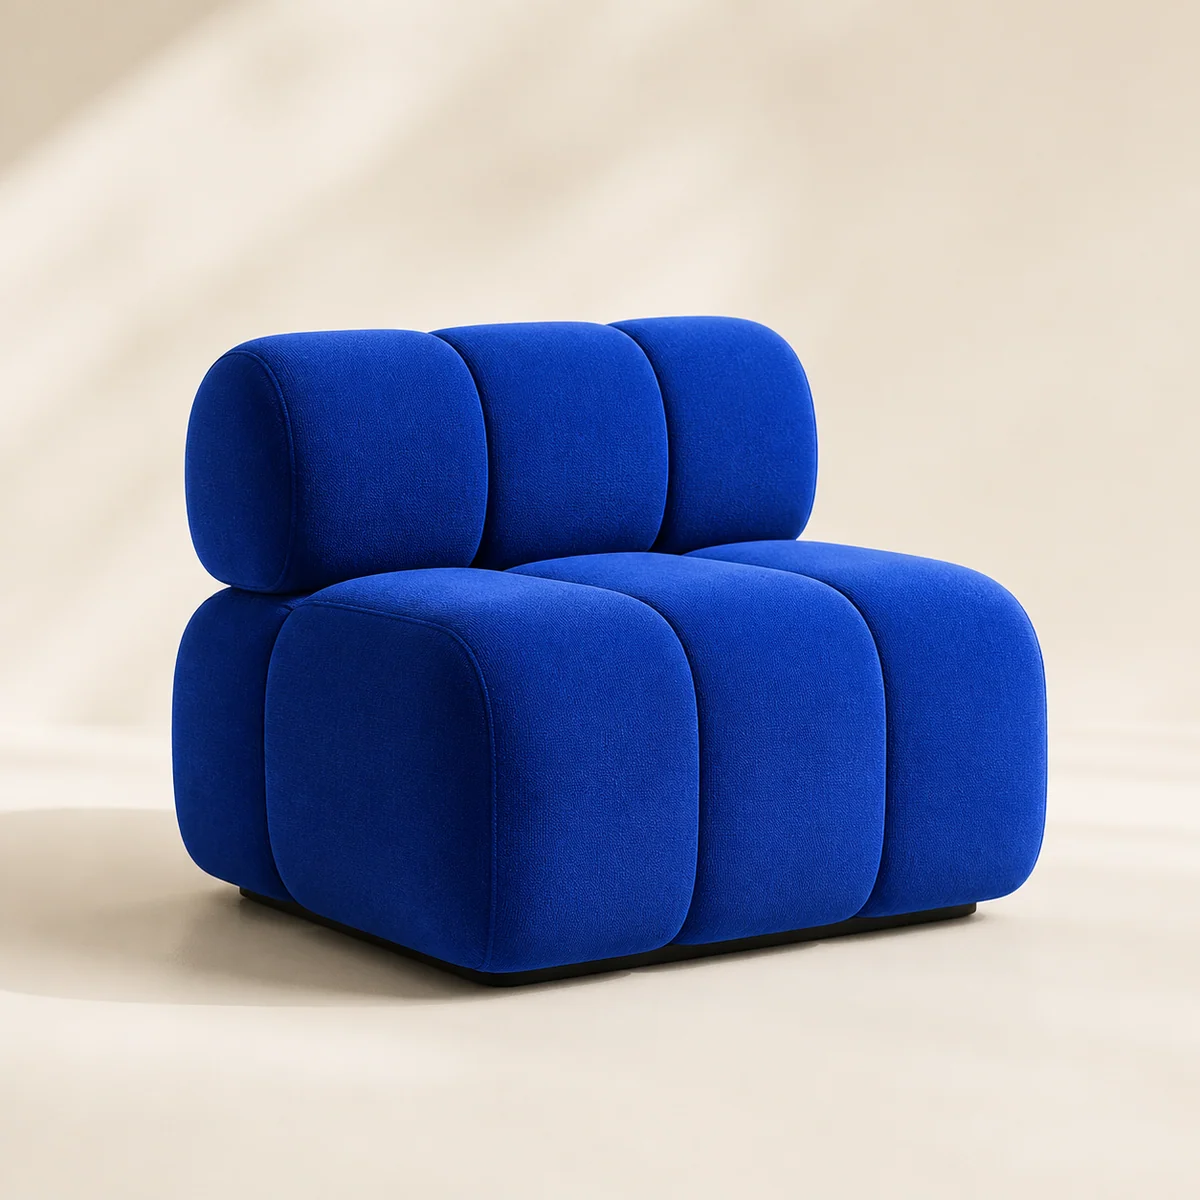
Review the silhouette, padded sections, upholstery, and low base against this source image.
For other products, the relevant checks will differ:
| Product detail | What to inspect | Why it affects the representation |
|---|---|---|
| Shape and proportions | Outline, width-to-height relationship, thickness | A changed outline may suggest a different model |
| Construction | Seams, cushions, closures, handles, component count | Added or missing parts can change the product |
| Material and finish | Fabric texture, gloss, transparency, grain | A different finish may imply another variant |
| Color | Main color and contrast between components | Scene lighting can make evaluation harder |
| Label and markings | Wording, logo, symbols, placement | Small text or marks may be changed or invented |
Only compare features that are visible in a trustworthy reference. If a photo hides an important detail, use an additional clear view of the same product rather than expecting the image model to infer it correctly.
1. Compare at a useful scale
Put the reference and candidate near each other on your canvas. View them at roughly comparable product sizes, then zoom in on important details. A small preview can hide a changed seam or an incorrect label.
Here is a scene candidate from the existing chair demonstration set:
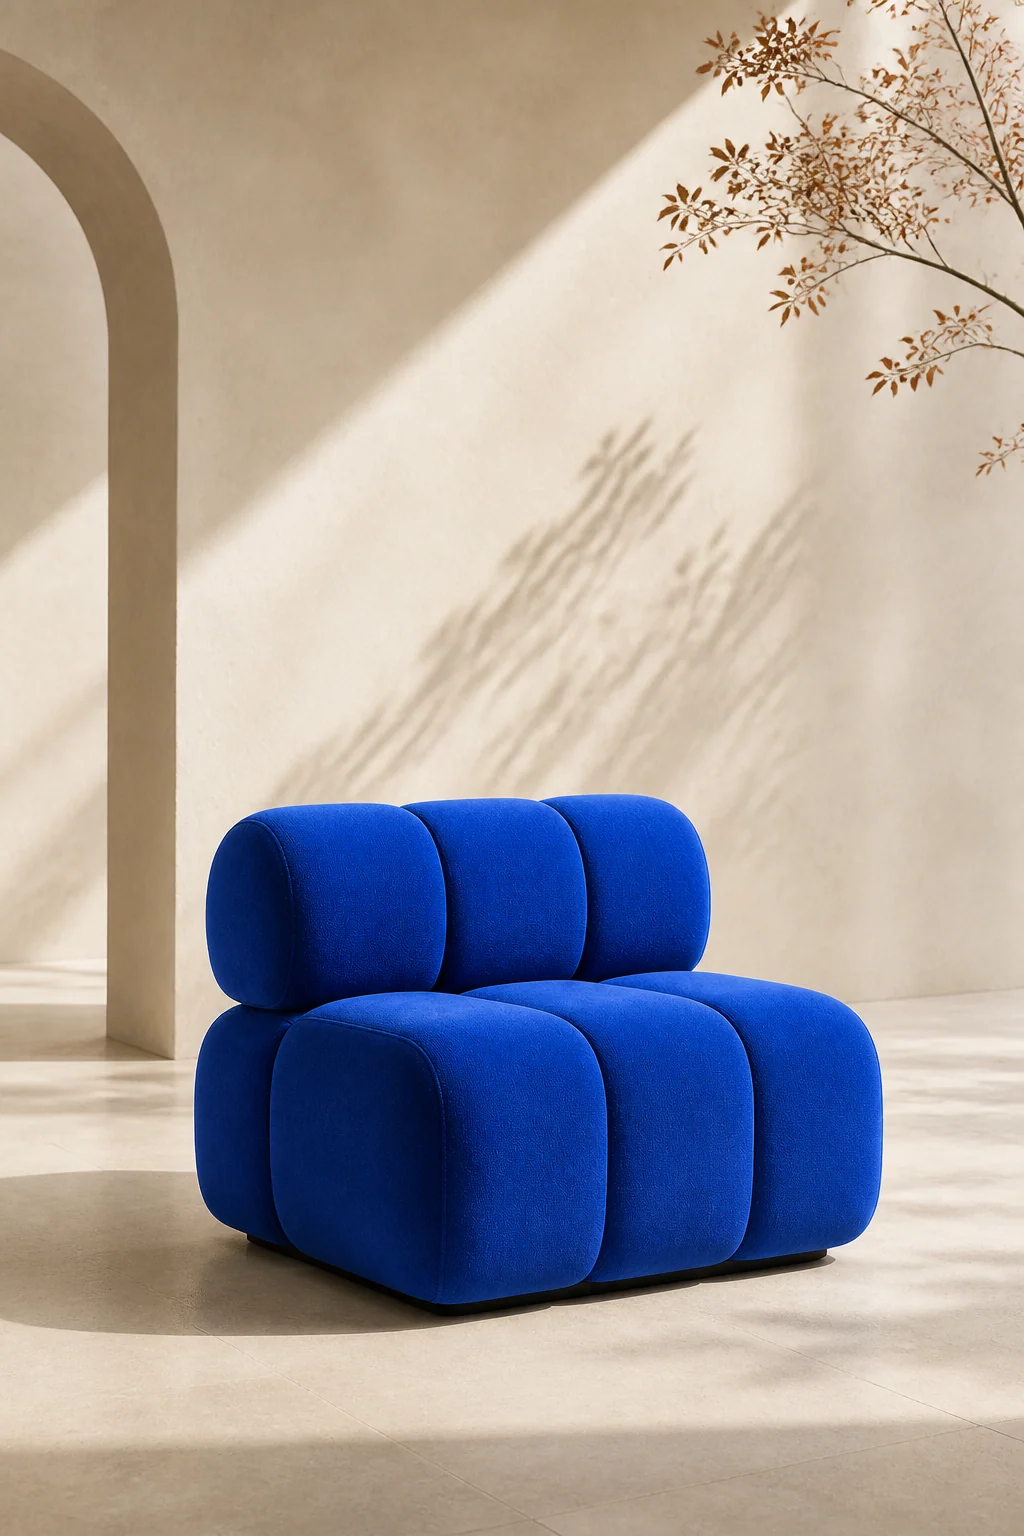
A finished-looking environment is a reason to inspect the product carefully, not evidence that every feature matches.
Start with the outline and construction. Then inspect color and material, followed by smaller identifying details. Different viewing angles and lighting can explain some apparent differences, but they can also make a comparison inconclusive.
When you cannot verify a detail, mark it as unresolved. Do not treat “hard to see” as “correct.” A closer reference or a simpler scene may help you evaluate the next candidate.
2. Separate scene feedback from product feedback
Write two short notes instead of one overall judgment:
Scene: the pale background provides useful space for a headline.
Product: check whether the base and padded-section shapes match the source.
Decision: resolve the product questions before using this candidate.
This is an example review note, not a measured finding about the image above. The distinction helps you preserve useful art direction while addressing uncertainty about the product itself.
If several candidates share the same uncertainty, revisit the input. A dim, obstructed, or heavily styled product reference may not provide the detail needed for a reliable comparison.
3. Write a correction that names the changed feature
“Make it more accurate” leaves the intended correction open. Describe the feature, identify the reference that shows it, and state what should remain from the scene.
For example, if a candidate changes the chair’s upholstery:
Use the original cobalt-blue chair photo as the product reference.
Revise the candidate so the chair's upholstery color and fabric appearance
match that reference. Preserve the padded-section shapes and low base.
Keep the room simple, with soft daylight and open space above the chair.
Do not borrow a different product material from the scene or style reference.
Attach or select the intended images before sending the request. If you include a candidate scene as well as the original product, describe their roles clearly: one supplies product identity, the other supplies the setting you want to retain.
The multiple-reference tutorial explains this division in more detail. Role descriptions are prompt instructions; they are not a product-lock setting.
Inspect the full product again after the correction. A new result can resolve the requested issue and introduce a different change elsewhere.
4. Simplify when corrections are not helping
If several references disagree about color or material, reduce the set to the original product photo and a simpler scene brief. If a dramatic camera angle hides a distinctive feature, ask for a view closer to the source.
Avoid adding contradictory instructions in a long chain of revisions. Restate a short brief with the product requirements you can actually check.
You can also stop generating. An existing product photograph may be the better basis for the final design when exact details matter and the candidates continue to change them. Add a headline and supporting layout around that photograph using the editable-text workflow.
Record why you rejected a candidate. This makes the next creative decision more useful than simply accumulating similar alternatives.
5. Check the finished composition too
An approved scene still needs a final review after text and other objects are added. Make sure the headline does not cover a key feature, and that an offer refers to the actual product shown.
Open the exported file and inspect it at both full size and a smaller viewing size. Compression, cropping, or a crowded layout can make details harder to read even when the source image was acceptable.
Use the PNG export guide to prepare a clean delivery copy while retaining your reference board for later revisions.
Questions about product consistency
Can a prompt guarantee an identical product?
This workflow provides no such guarantee. Treat the original photograph as the comparison source and review each candidate before use.
Should I supply a close-up of the label?
Use one when it shows information missing from the main reference. Explain that it is a detail of the same product. You still need to inspect the resulting lettering and placement.
Can I add text over an incorrect product label?
A separate text object does not automatically repair the product’s label geometry or remove incorrect lettering underneath. If the depicted packaging remains misleading, use a more accurate source image.
Open CubbieAI Studio and keep your original product photo beside the next candidate. Review one identifying feature at a time before approving the scene.